

Step-by-Step Guide to Operating a Duct Forming Machine
Introduction
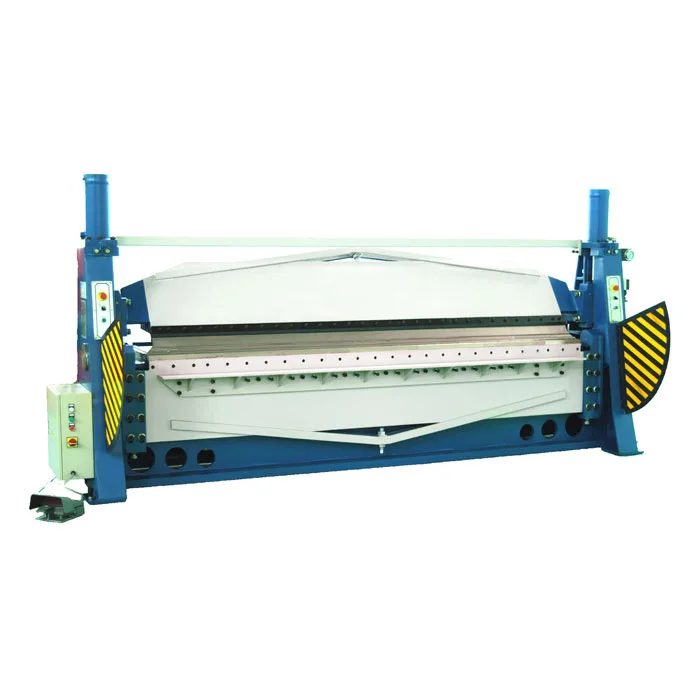
In the realm of HVAC (Heating, Ventilation, and Air Conditioning) systems, precision and efficiency reign supreme. One indispensable tool in this meticulous world is the duct forming machine, an ingenious device that molds raw material into intricate ducts that channel essential airflow throughout buildings. If you aspire to master the art of duct fabrication, follow this comprehensive step-by-step guide to navigate the complexities of operating a duct forming machine with ease.
Step 1: Preparation
Before embarking on the forming journey, ensure your machine is in prime condition. Inspect the machine thoroughly, checking for any loose parts or potential hazards. Gather the necessary materials, including sheet metal, adhesive sealant, and fasteners. Wear appropriate safety gear, including gloves and safety glasses, to minimize any potential risks.
Step 2: Material Selection and Measurement
Choose the proper sheet metal gauge and material type based on the duct’s specifications. Measure the required length and width of the duct accurately using a measuring tape or ruler. Mark these measurements clearly on the sheet metal, ensuring precision throughout the forming process.
Step 3: Inserting the Metal into the Machine
Carefully feed the sheet metal into the forming machine, aligning it with the designated guide lines. Use a lubricant or forming oil to prevent the material from adhering to the rollers and ensure smooth movement. Position the material firmly and securely to avoid any slipping or distortion during forming.
Step 4: Adjusting Machine Settings
Refer to the manufacturer’s instructions or consult with an experienced operator to determine the appropriate settings for the specific duct design. Adjust the rollers’ height, width, and pressure to achieve the desired shape and dimensions of the duct. Test the settings on a small scrap piece of sheet metal before proceeding with the actual forming.
Step 5: Rolling and Forming
Activate the machine and guide the sheet metal through the rollers, observing its progress closely. Ensure that the material is forming evenly and according to the intended shape. Adjust the settings or reposition the metal as needed to achieve the desired results.
Step 6: Adhesive Application
Once the duct is formed, apply adhesive sealant along the seams where the edges meet. Use a brush or caulking gun to distribute the sealant evenly. This will ensure airtightness and prevent air leaks within the duct system.
Step 7: Joining and Fastening
Connect the formed duct sections together using duct tape or flange connectors. Secure the joints with screws or rivets to ensure a robust and leak-proof connection. Reinforce the seams with additional adhesive sealant or mastic if necessary.
Conclusion
By following these steps meticulously, you can effectively and efficiently operate a duct forming machine, transforming sheet metal into the vital ducts that circulate air throughout buildings, ensuring comfort and optimal indoor environment. Remember, practice makes perfect. With time and experience, you will master the art of duct fabrication, ensuring precision, efficiency, and airtightness in your HVAC installations.
-
Press Metal Machine: The Definitive Guide to Precision Metal Forming
2026/03/12 -
Metal Punching Machine: The Ultimate Guide to Precision Hole Punching
2026/03/10 -
Sheet Metal Machinery: The Ultimate Guide to Industrial Fabrication Excellence
2026/03/04 -
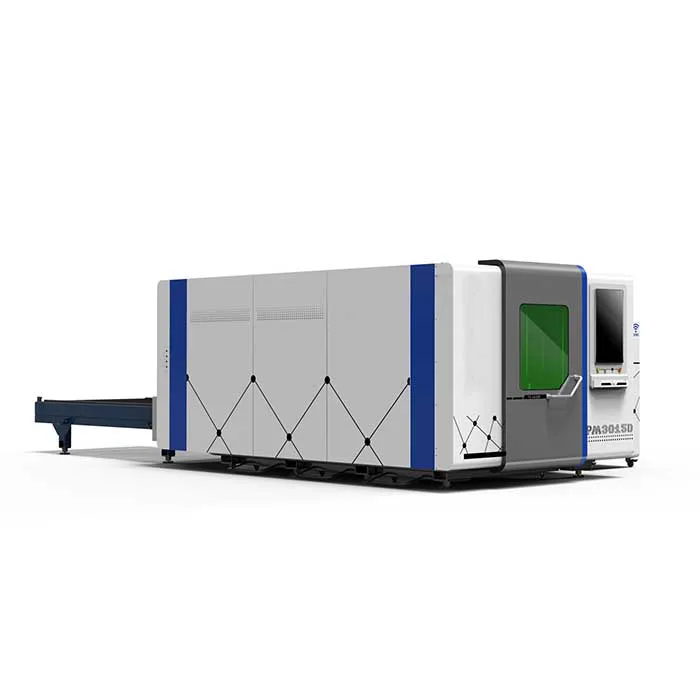
Iron Sheet Laser Cutting Machine: Unmatched Precision for Demanding Fabrication with METMAC
2026/01/06
-
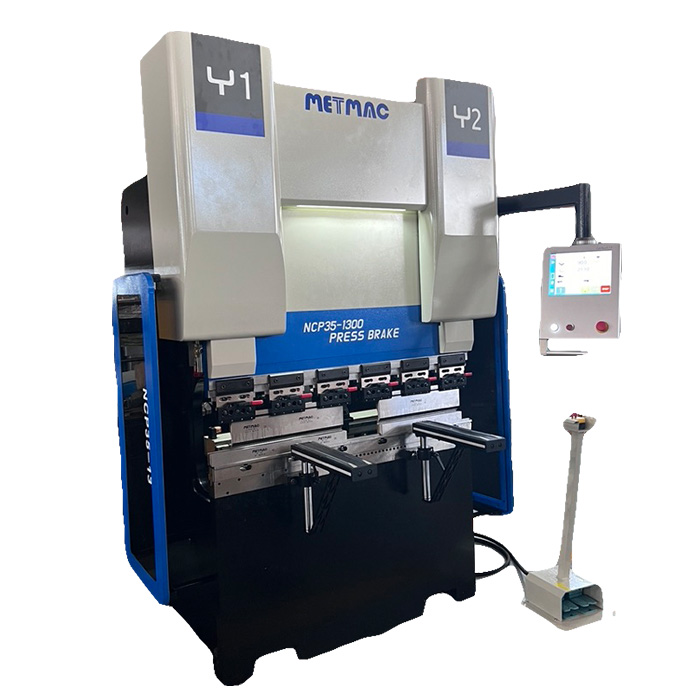
Sheet Metal Press Brake: Ultimate Guide to Precision Bending Technology in 2024
2026/03/13 -
Metal Punching Machine: Ultimate Guide to Precision Manufacturing in 2024
2026/03/11 -
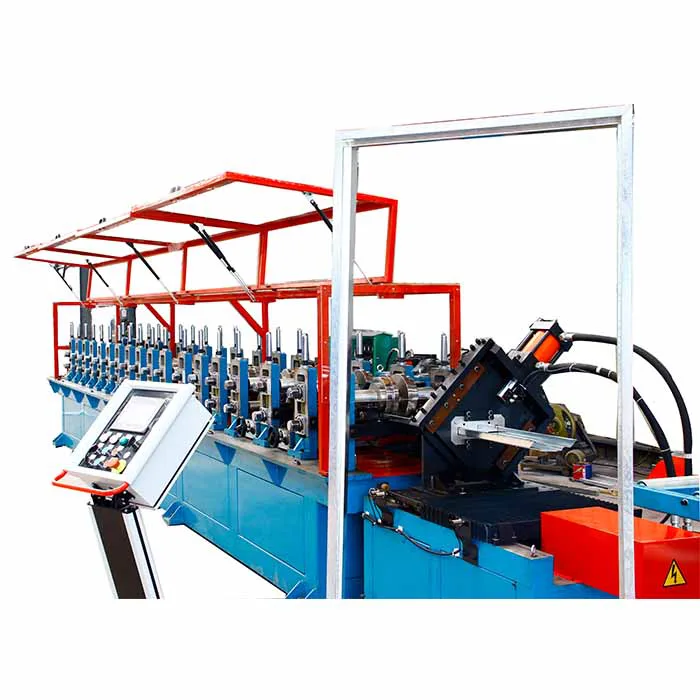
Metal Folding Machine: Comprehensive Guide to Precision Bending in 2024
2026/03/09 -
Sheet Metal Equipment: Ultimate Guide to Industrial Fabrication Solutions in 2026
2026/03/06
-
A Guide to the Latest Innovations in Sheet Metal Folding Machines
2024/11/29 -
Key Features to Consider When Investing in a Sheet Metal Folding Machine
2024/11/28 -
Enhancing Precision with Advanced Sheet Metal Folding Machines
2024/11/27 -
How to Choose the Right Sheet Metal Folding Machine for Your Workshop
2024/11/26
