

DIY- Setting Up and Operating Your Duct Folding Machine
Are you tired of relying on expensive HVAC contractors to handle your ductwork needs? Take matters into your own hands with a DIY duct folding machine. This versatile tool allows you to fabricate your own custom ducts, saving you time and money while giving you complete control over the final product. In this comprehensive guide, we’ll provide you with step-by-step instructions on how to set up and operate your duct folding machine, empowering you to tackle your HVAC projects with confidence.
Choosing the Right Machine
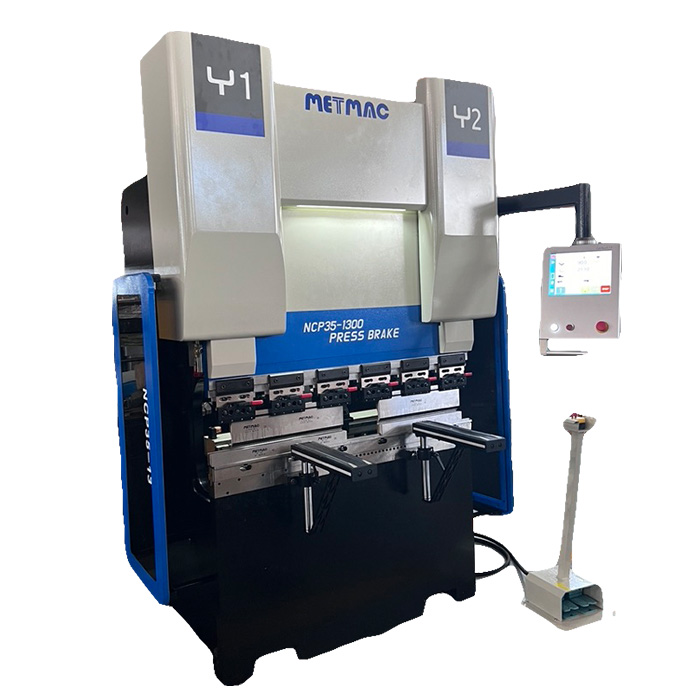
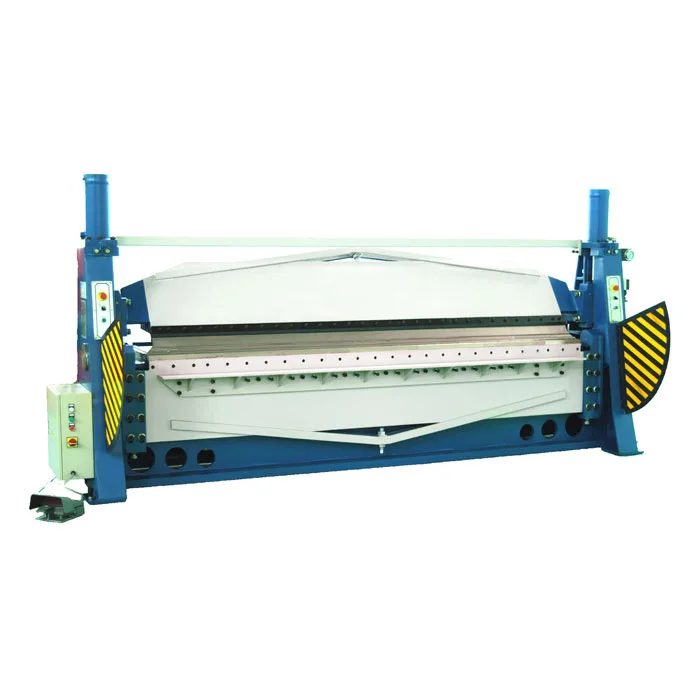
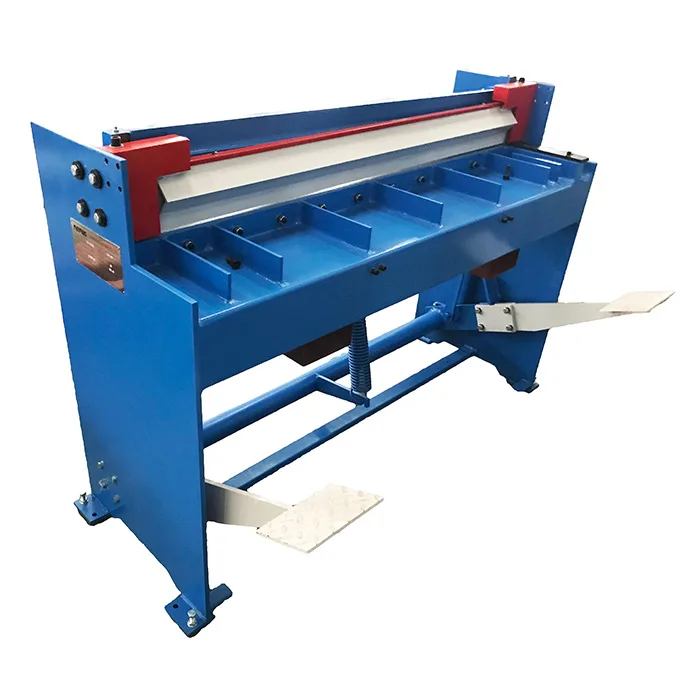
The first step in setting up your duct folding machine is to choose the right one for your needs. Consider the size and type of ducts you’ll be working with, as well as your budget. There are two main types of duct folding machines: manual and electric. Manual machines are more affordable but require more physical effort, while electric machines are more efficient and powerful but come at a higher cost.
Materials and Tools
Once you have selected your duct folding machine, gather the necessary materials and tools. These include:
Duct material (galvanized steel, aluminum, or flexible duct)
Measuring tape and pencil
Safety glasses
Gloves
Tin snips
Crimper or rivet gun
Setting Up the Machine
1. Place the duct folding machine on a stable surface.
2. Adjust the bending width and flange height as needed for the type of duct you’ll be making.
3. Attach the duct material to the machine, making sure it’s aligned properly.
4. Set the machine’s speed and pressure settings according to the material and duct size.
Operating the Machine
1. Wear safety glasses and gloves before operating the machine.
2. Insert the end of the duct material into the bending rollers.
3. Start the machine and apply downward pressure as the duct is fed through the rollers.
4. Once the duct has been folded to the desired shape, remove it from the machine.
5. Repeat the process for each section of the ductwork.
Finishing and Assembly
1. Trim any excess duct material using tin snips.
2. Use a crimper or rivet gun to seal the seams of the ductwork, ensuring a tight and secure connection.
3. Connect the sections of the ductwork together using duct tape or other suitable sealant.
4. Install the ductwork according to the manufacturer’s instructions or consult a professional HVAC contractor for assistance.
By following these step-by-step instructions, you can successfully set up and operate your duct folding machine, saving time and money on your future HVAC projects. Remember to always prioritize safety, wear appropriate protective gear, and follow the manufacturer’s instructions carefully. With a little practice, you’ll be able to fabricate professional-quality ductwork that meets your exact specifications.
-
Press Metal Machine: The Definitive Guide to Precision Metal Forming
2026/03/12 -
Metal Punching Machine: The Ultimate Guide to Precision Hole Punching
2026/03/10 -
Sheet Metal Machinery: The Ultimate Guide to Industrial Fabrication Excellence
2026/03/04 -

Iron Sheet Laser Cutting Machine: Unmatched Precision for Demanding Fabrication with METMAC
2026/01/06
-
Sheet Metal Press Brake: Ultimate Guide to Precision Bending Technology in 2024
2026/03/13 -
Metal Punching Machine: Ultimate Guide to Precision Manufacturing in 2024
2026/03/11 -
Metal Folding Machine: Comprehensive Guide to Precision Bending in 2024
2026/03/09 -
Sheet Metal Equipment: Ultimate Guide to Industrial Fabrication Solutions in 2026
2026/03/06
-
A Guide to the Latest Innovations in Sheet Metal Folding Machines
2024/11/29 -
Key Features to Consider When Investing in a Sheet Metal Folding Machine
2024/11/28 -
Enhancing Precision with Advanced Sheet Metal Folding Machines
2024/11/27 -
How to Choose the Right Sheet Metal Folding Machine for Your Workshop
2024/11/26
